This article on Home Living Handbook might contain affiliate links. If you make a purchase through a link on the site, we may earn a commission.
Attaching outdoor string lights to your home takes a bit of planning and muscle, especially if you're trying to securely anchor the lights into siding. The trick is to find stable anchor points and use the right materials — notably, hardware that's strong enough to hold up under the strain and tension. If you plan on having a taut outdoor lighting in your yard, don't underestimate how important it is to properly connect the lights to your home's siding.
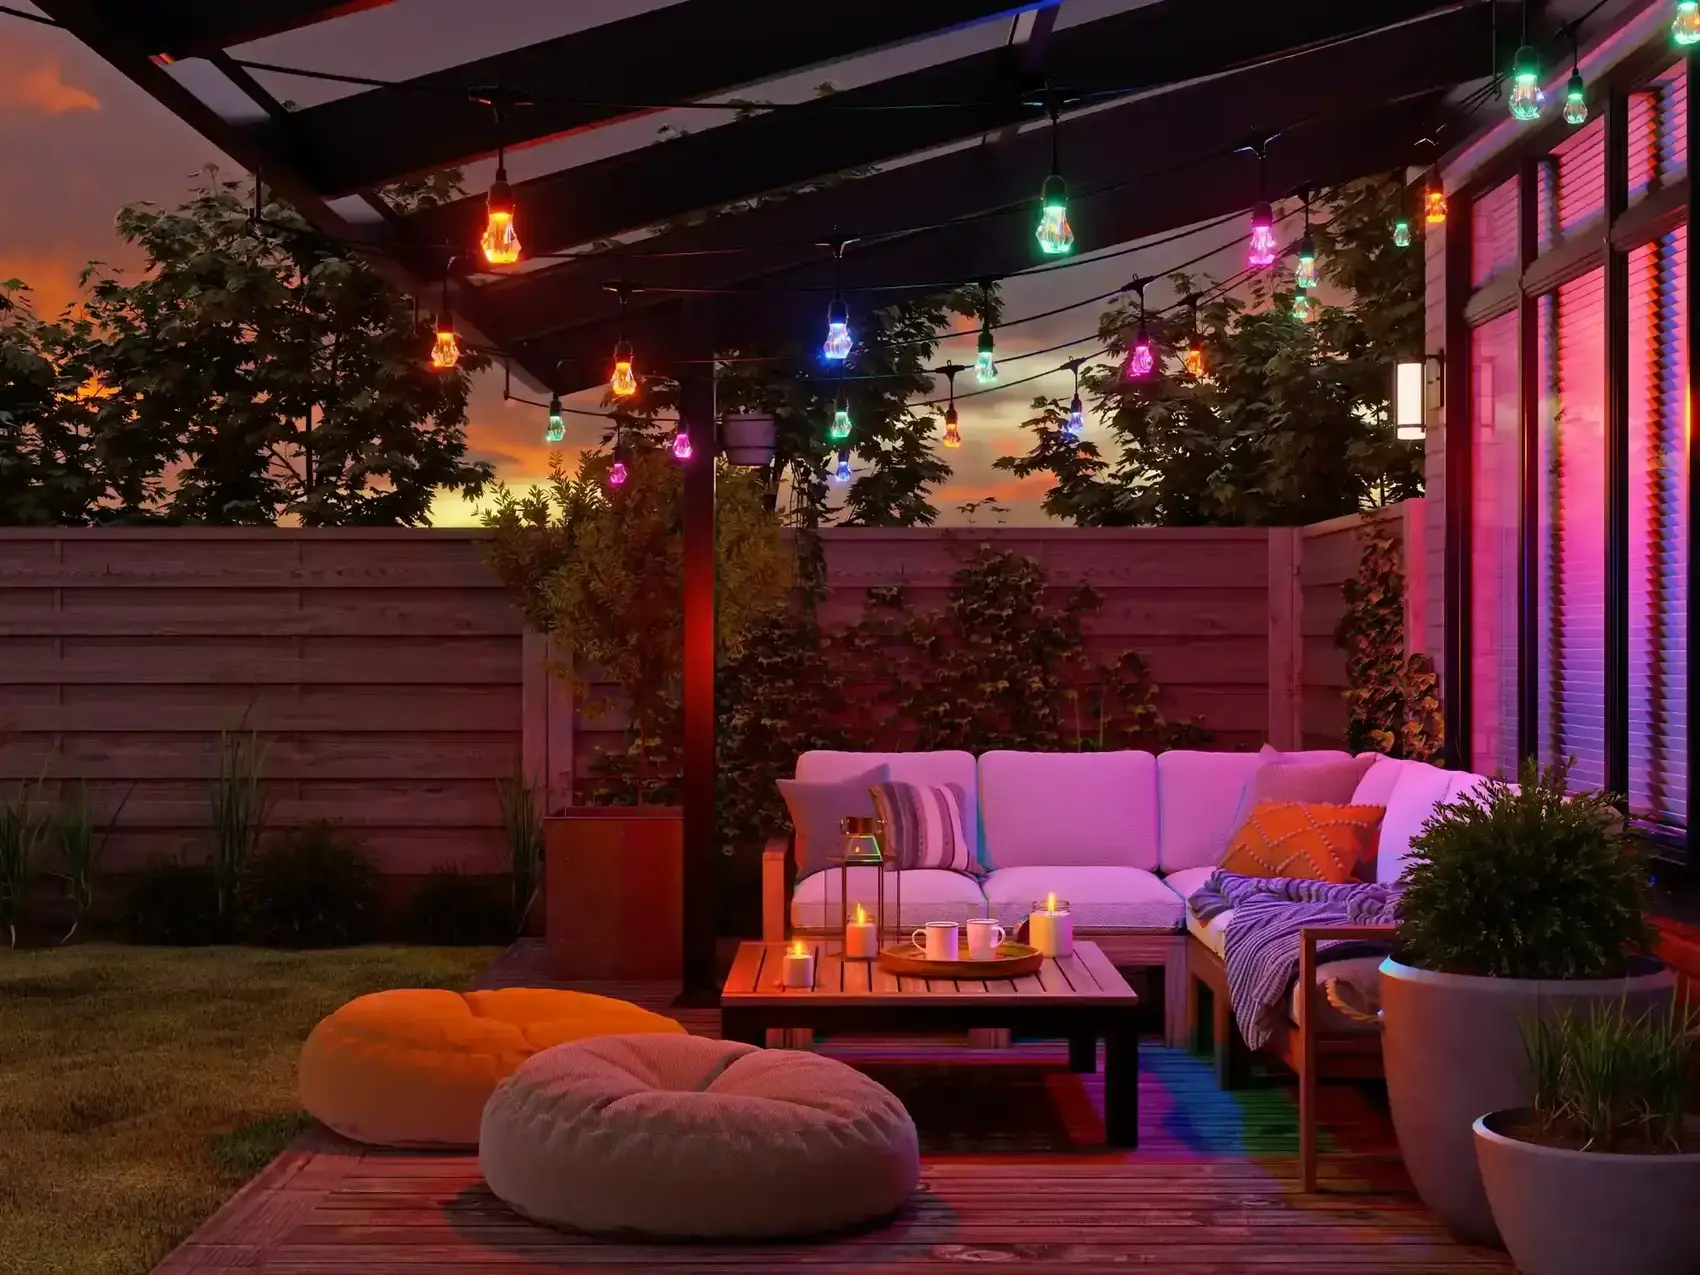
Over the years, we've successfully put up both lightweight strands of solar string lights and heavy-duty strands of LED lights. Most recently, we hung 98-feet of Nanoleaf outdoor string lights. They are (substantially) more heavy-duty than any outdoor lights I've bought on a whim off Amazon, requiring us to level up our reinforcement efforts. The good news? With some backyard DIY done right, plug-in LED string lights can be secure, safe, and transform your outdoor living spaces or covered patio.
Things to Avoid
- Lightweight hooks and nails. Instead, opt for zinc-plated hardware rated for 100+ pounds.
- Adhesive hooks. Anything adhesive is bound to fail under the weight and strain of the lights, especially in varying weather conditions.
- Specialized vinyl siding clips/siding clamps. While these might be suitable for holiday string lights or very lightweight cafe lights, they'll struggle to support any tension from heavier string light strands.
- Indoor extension cords. Always use an outdoor extension cord into a GFCI outlet or an outdoor-rated power outlet.
- Stainless steel hooks. Sure, they'll hold up okay for a while, but given the option, a zinc-plated product is better in an outdoor space. Zinc-plated hooks hold up better to moisture.
Install Patio String Lights Securely With These Products
- Drill bits. You'll need a small drill bit to create a pilot hole through the siding and into the framing of the home. Whether you have vinyl siding, clapboard, or cementboard siding, it's important to connect the strand of lights
- Strong hooks. Specifically, look for cup hooks or Zinc-plated Lag Thread Screw Eyes — either 3/8" or 5/16" should be heavy-duty enough. S-hooks are also good in a pinch, as are spring snap hooks and quick link locking clips. Explore your hardware options and choose screw hooks that work for your needs.
- Galvanized steel cable. If you have more than a 8' span, use a strong cable guide wire to take some of the weight off the electrical cord. A 14-gauge twisted metal cable wire is a great option. Cable kits are available in many lengths so measure your distance and account for more extra length than you think you'll need. Zinc-plated wire rope clamps and turnbuckles are essential for securing and creating the desired tension for the wire.


1. Predrill Through the Siding
Think ahead as you plan your backyard makeover, and identify where best to drill through your siding. The lag thread screw will need to get through the siding and hit wood framing, so choose the area beneath your eave closest to the house, or the framing above a window. If you predrill and position your screw eye hooks at the same angle the strings of lights will extend from the house, you can minimize potential torquing on the screw as it holds in the siding and wall.
2. Attach the Lag Screw
Twist the hook eye lag bolts into the predrilled mounting holes. Thread a screwdriver into the eye, and use the handle for leverage at twisting it deeper until the eye hook rests against the siding. If it's hard to turn, you're doing it right. The last thing you need is an eye hook in your siding that yanks loose under the tension of the string lights.
3. Connect Your Cable Guide Wires
Use the rope clamps and turnbuckles to connect one end of the wire cable to the eye hook protruding from the wall.
4. Extend the Cable Guide Wire Where You Plan to Hang the Lights
Plan and install each eye hook you need to place along the route. Light posts can hold lightweight wire, but for strands of lights that are heavier, a deck railing, pergola post, or nearby tree is more secure. No need to install the lights yet (it just adds weight to the project). You'll install the lights once the wire is hung.
5. Connect the End of the Wire to the End Hook
Use another turnbuckle and a combination of clips and additional hooks to secure the end of the wire to the eye hook at the end of the strand. Twist the turnbuckles to pick up any unwanted slack along the length of the wire.
6. Hang Your Lights
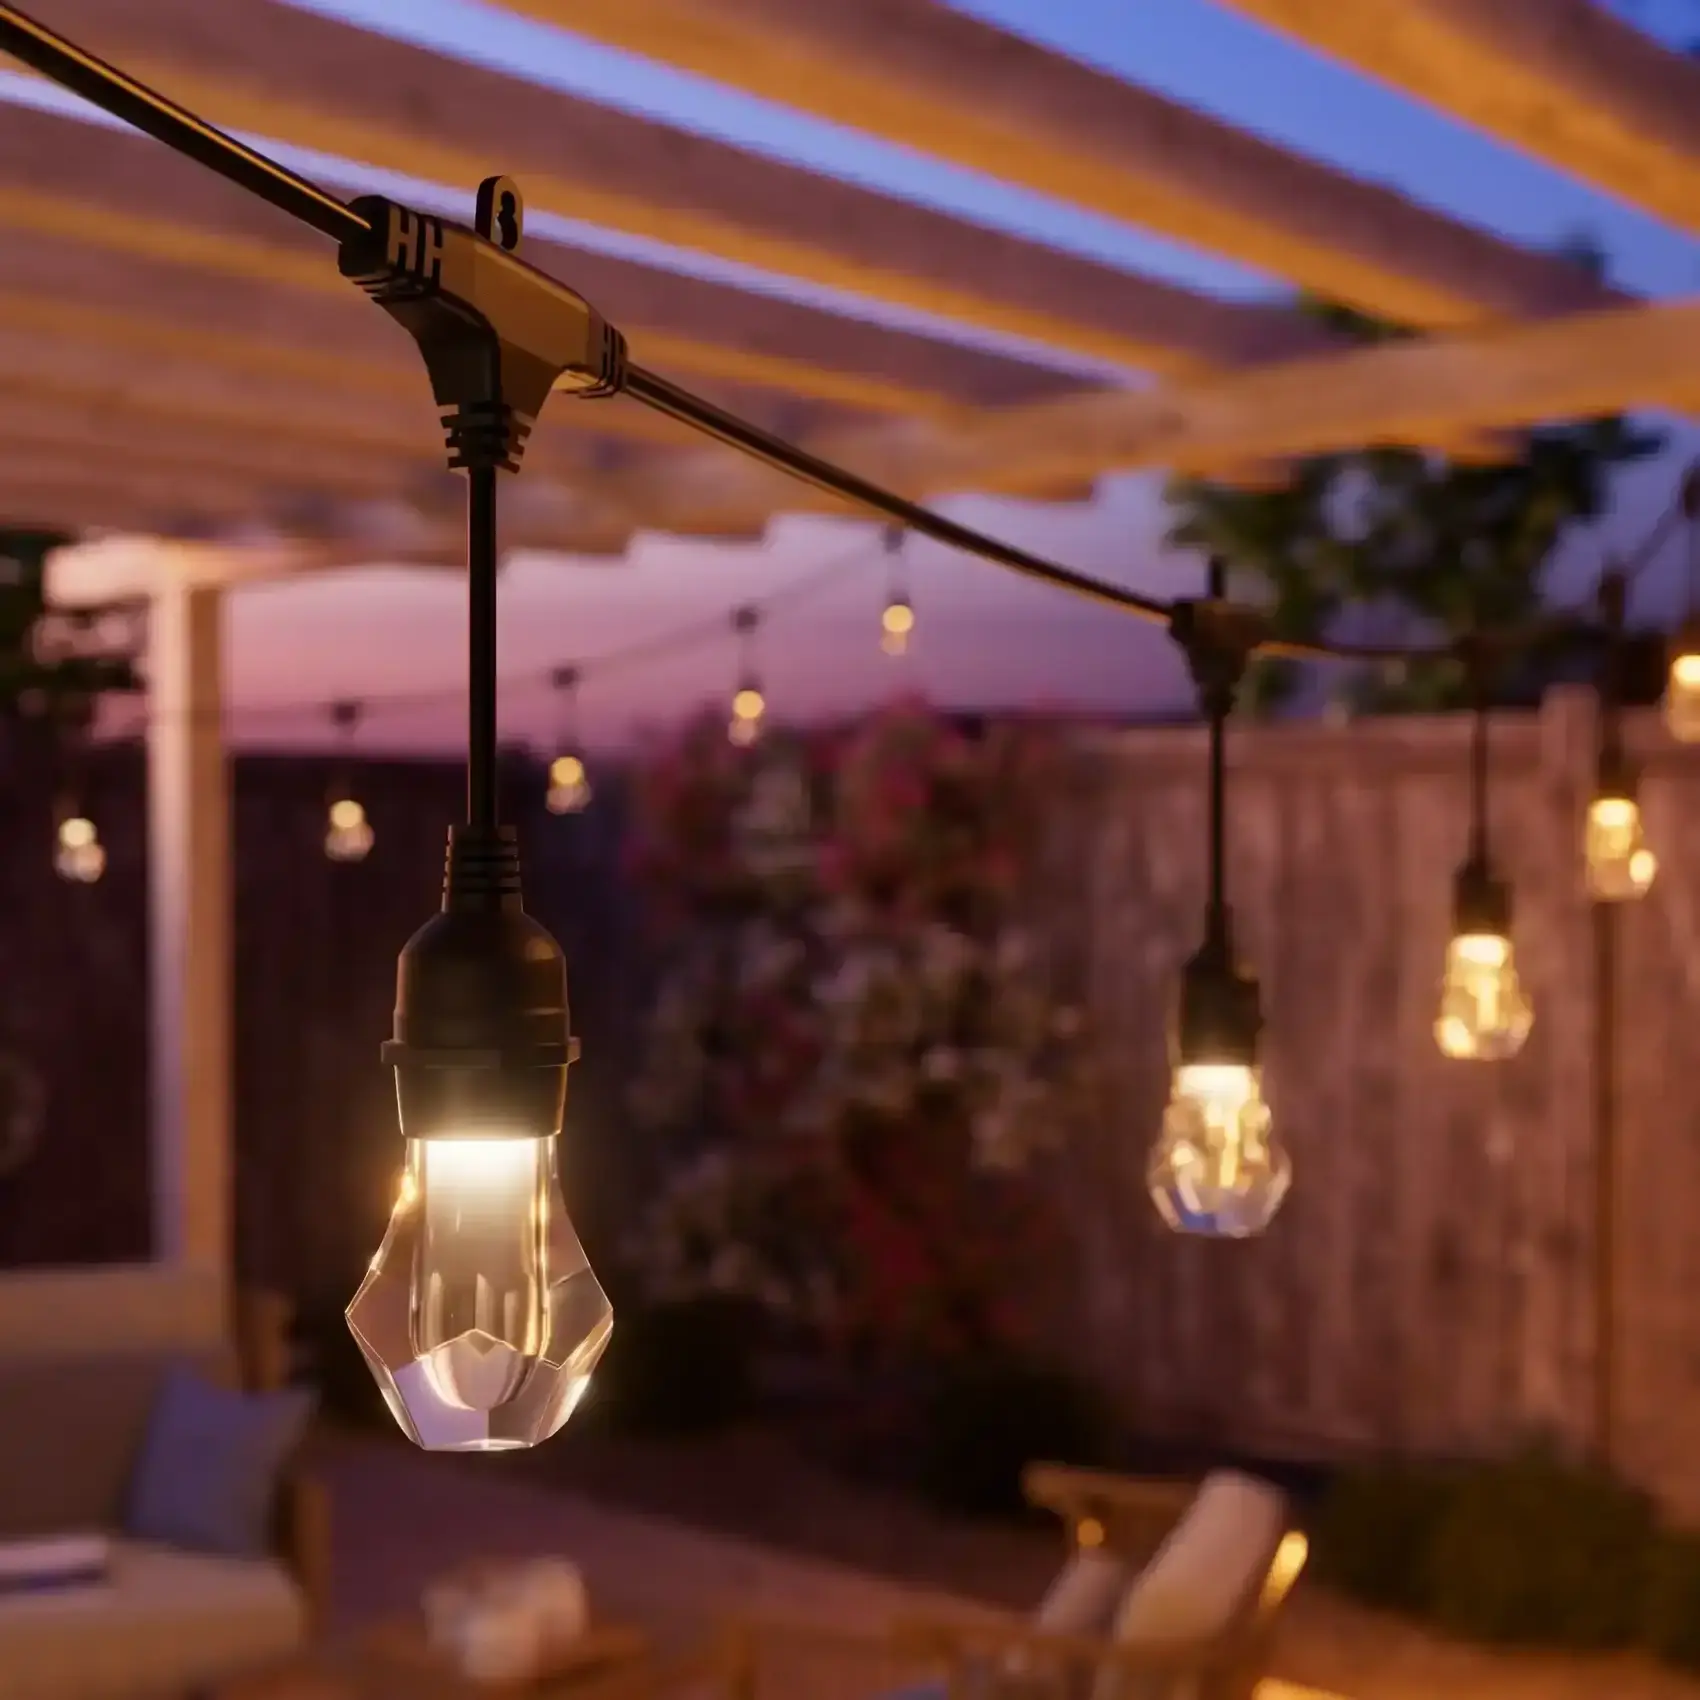
Many string lights have built-in clips or hooks, while others attach to the wire more securely with zip ties. Extend the lights along the new string, continuously monitoring the hooks in the wall to make sure the added weight isn't torquing the eye hooks that are screwed into the siding.
7. Power on
Hopefully you planned a good route so you end up near a power outlet. Our string lights are "smart", but if you have dumb, I mean "not smart" string lights then the addition of an outdoor smart plug outlet will let you control routines, on/off cycles, and much more.

FAQ
How do I know if the hooks I choose are strong enough?
Check the weight rating on the hardware. Zinc-plated screw hooks rated for 100+ pounds are a safe choice for heavier string lights.
Do I need a support guide wires for all string lights?
Not always, but for longer strands, we like it for peace of mind. For spans longer than 8 feet or for heavy-duty strands, a galvanized steel cable guide wire helps reduce strain on the electrical cord.
What happens if I skip predrilling holes?
Without a pilot hole, the lag screw can split the siding or fail to grip securely into the framing. Predrilling gives a cleaner, stronger hold.
Are outdoor extension cords really necessary?
Yes. Indoor cords are not weatherproof and can pose a safety risk when exposed to moisture outdoors.

